Recording and Publishing Your Own Audiobook: A Technical Guide
Thursday, June 04, 2026
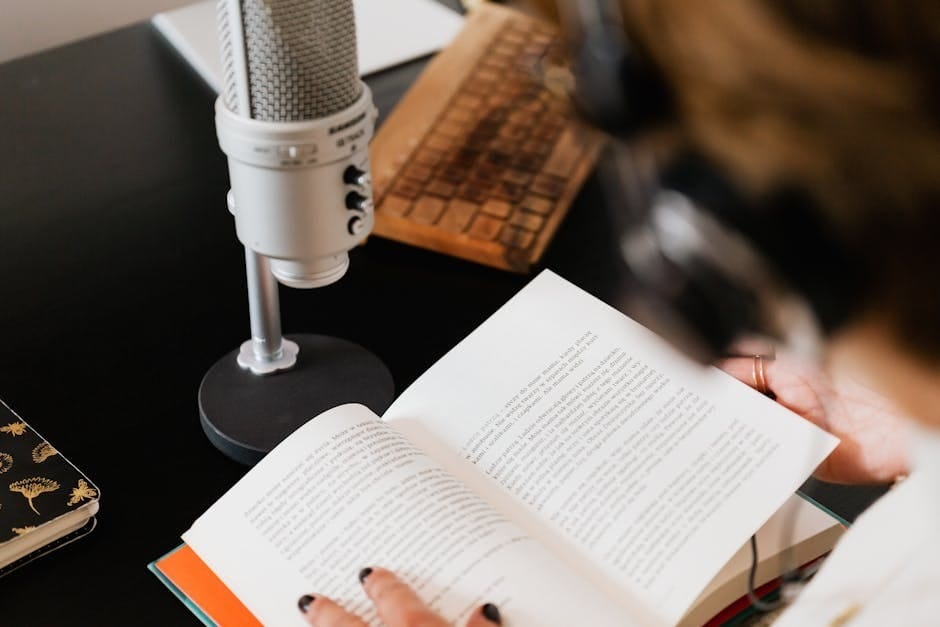
Recording and publishing your own audiobook is one of the most rewarding creative endeavors an author can undertake. Yes, it takes effort, patience, and a willingness to learn - but thousands of independent creators do it every year, and so can you. Whether you're narrating your own novel, memoir, or nonfiction guide, this step-by-step walkthrough will take you from bare walls to published audio, covering everything from microphones to metadata.
Understanding the Landscape: ACX and Findaway Voices
Before you hit record, it helps to understand where your audiobook will live. The two most prominent independent distribution platforms are ACX (Audiobook Creation Exchange), which distributes to Audible, Amazon, and iTunes, and Findaway Voices, which distributes to over 40 retailers including Spotify, Scribd, and library networks.
Both platforms have technical requirements that ensure a consistent, professional listening experience. Meeting these standards isn't just about getting approved - it's about giving your listeners the quality they deserve. The good news? These standards are entirely achievable with the right setup and a bit of practice.
Essential Equipment: Building Your Recording Setup
You don't need a professional recording studio - but you do need the right tools. Here's what you'll need to get started, from budget-friendly to professional-grade options.
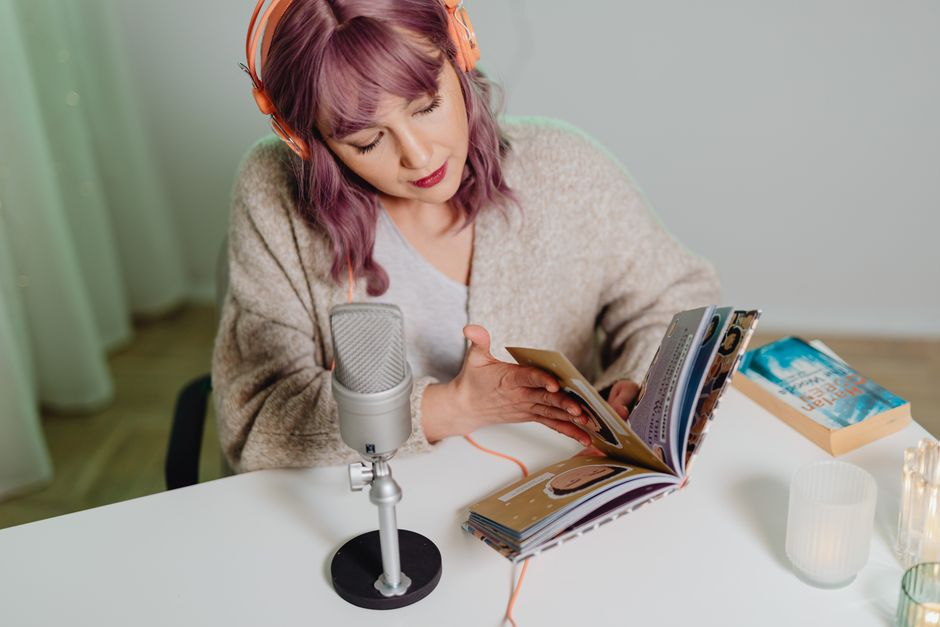
🎙️ Microphone
Your microphone is the single most important piece of equipment. A condenser microphone is generally preferred for voice recording because of its sensitivity and detail. Popular choices include:
- Audio-Technica AT2020 Excellent entry-level condenser, widely trusted by audiobook narrators (~$129) (Amazon Link)
- Blue Yeti USB condenser with easy setup, ideal for beginners (~$99) (Amazon Link)
- Rode NT1 Professional-grade with ultra-low noise floor, a favorite among serious narrators (~$269) (Amazon Link)
- Shure SM7B Dynamic mic beloved for its warm vocal tone, used in broadcast and podcasting (~$439) (Amazon Link)
🔌 Audio Interface
If you're using an XLR microphone (recommended for quality), you'll need an audio interface to connect it to your computer. The Focusrite Scarlett Solo or 2i2 are industry staples, offering clean preamps and reliable drivers for under $150. USB microphones like the Blue Yeti skip this step entirely, making them great for beginners.
🎧 Headphones
Closed-back headphones are essential for monitoring your recordings without bleed. The Sony MDR-7506 and Audio-Technica ATH-M50x are both highly regarded for their flat, accurate sound reproduction — critical for catching issues during editing.
🧱 Acoustic Treatment
Room acoustics can make or break your recording. You don't need a purpose-built studio - a walk-in closet lined with clothing is remarkably effective. Other options include:
- Acoustic foam panels or moving blankets hung on walls
- A reflection filter/portable vocal booth mounted behind the microphone
- Recording inside a tent or under a heavy duvet (seriously - it works!)
- Avoiding rooms with hard parallel surfaces (tile, bare drywall, hardwood floors)
Recording Software: Your Digital Audio Workstation (DAW)
A Digital Audio Workstation (DAW) is where you'll record, edit, and export your audio. The good news: some of the best options are free.
Audacity
Free, open-source, and surprisingly powerful. Perfect for beginners. Available on Mac, Windows, and Linux.
GarageBand
Free for Mac users. Intuitive interface with solid noise reduction tools. Great stepping stone before Logic Pro.
Adobe Audition
Professional-grade with advanced noise reduction and spectral editing. Subscription-based (~$20/mo). Industry standard.
For most independent audiobook creators, Audacity is the recommended starting point. It handles everything from recording to noise reduction to exporting in the correct format. As your skills grow, you can migrate to more advanced tools.
Technical Specifications: Meeting Platform Standards
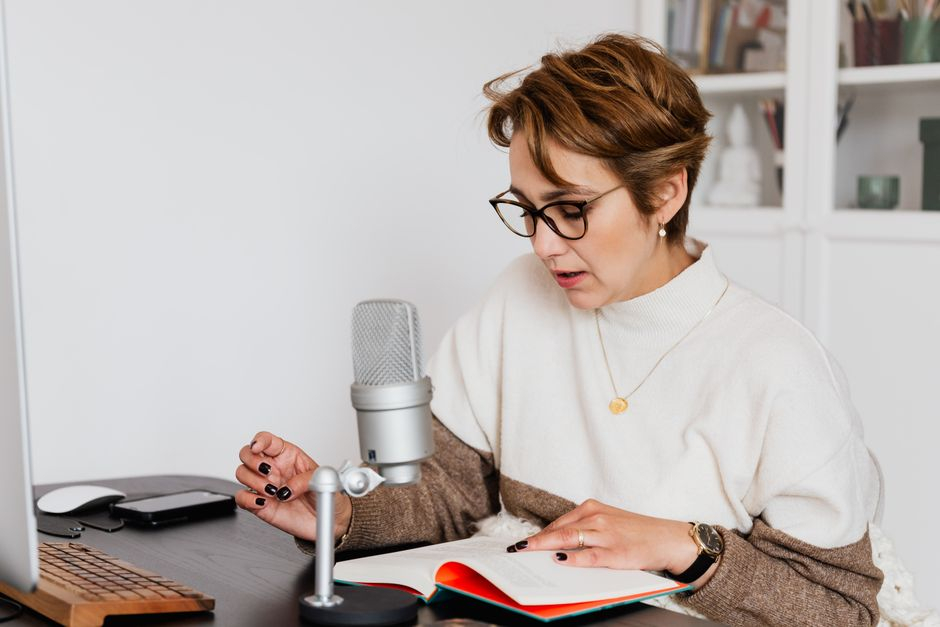
Both ACX and Findaway Voices have specific technical requirements your audio must meet before submission. These aren't arbitrary hurdles - they exist to ensure a consistent, high-quality listening experience across all devices. Here's a breakdown of the key specs:
ACX Audio Requirements
- Format: MP3, constant bit rate (CBR) at 192 kbps or higher
- Sample Rate: 44.1 kHz
- Bit Depth: 16-bit
- Integrated Loudness: -23 LUFS (±1 LU)
- Peak Level: No higher than -3 dBFS
- Noise Floor: -60 dBFS or lower
- File Format: One chapter per file; opening and closing retail samples required
Findaway Voices Audio Requirements
- Format: MP3 at 192 kbps CBR
- Sample Rate: 44.1 kHz
- Loudness: -19 to -23 LUFS integrated
- Peak: -3 dBFS or lower
- Noise Floor: -65 dBFS or quieter
- Stereo or Mono: Mono is acceptable and often preferred
Don't let these numbers intimidate you. Tools like Auphonic (a free/low-cost online audio processor) can automatically normalize your loudness levels to meet platform specs. The ACX Check plugin for Audacity and Logic Pro also lets you verify your files against ACX standards before submission - a massive time-saver.
Pro Tip: Always record in WAV format (uncompressed) and export to MP3 only at the very end. Editing compressed MP3 files degrades quality with each save. Preserve your master files in WAV throughout the entire production process.
Recording Techniques: Capturing a Great Performance
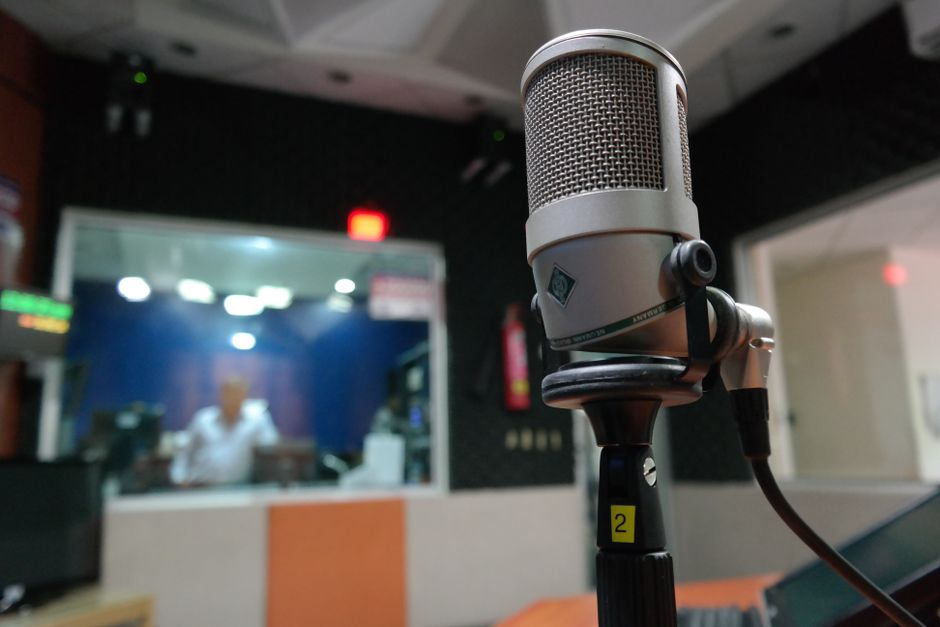
Technical quality is only half the equation. Your performance - pacing, clarity, and consistency - is what keeps listeners engaged. Here are the techniques that separate good audiobooks from great ones:
Microphone Placement
Position your microphone approximately 6–12 inches from your mouth, slightly off-axis (angled rather than directly in front) to reduce plosives - those harsh "p" and "b" sounds. Use a pop filter between your mouth and the mic for an additional layer of protection. Experiment with distance: closer gives a more intimate, warm sound; farther away captures more room tone (which you generally want to minimize).
Pacing and Delivery
- Read slower than feels natural most beginners rush. Aim for 150–160 words per minute for nonfiction, slightly faster for fiction.
- Pause at punctuation commas get a beat, periods get two beats, paragraph breaks get three. This gives listeners time to absorb information.
- Warm up your voice before each session with vocal exercises, humming, and hydrating with room-temperature water (avoid cold water and dairy).
- Mark your script highlight difficult words, note where to breathe, and flag sections that need character differentiation.
- Record in short sessions 90-minute maximum to avoid vocal fatigue. Your voice will sound noticeably different when tired.
Managing Mistakes During Recording
When you make a mistake, don't stop the recording. Instead, pause for 3 seconds, clap your hands once (creating a visible spike in the waveform), then re-read from the beginning of the sentence. This technique makes it effortless to find and splice your corrections during editing. You'll thank yourself later.
Editing and Post-Production: Polishing Your Audio
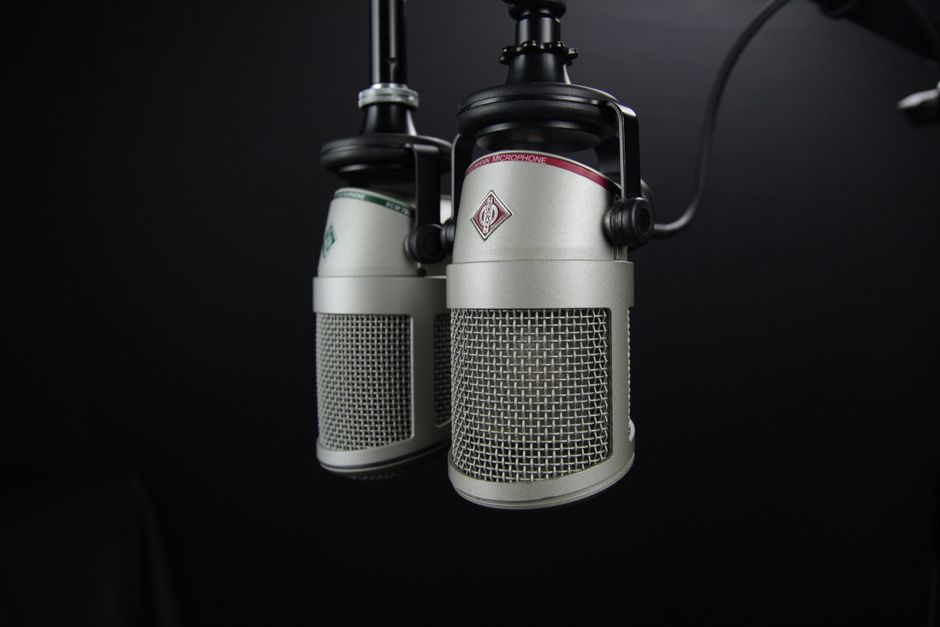
Editing is where raw recordings become a professional product. Plan to spend roughly 2–4 hours of editing per finished hour of audio - this is normal, even for experienced producers. Here's a structured workflow:
Step-by-Step Editing Workflow
1
Remove Noise
Use your DAW's noise reduction tool. In Audacity, select a section of "silence" (room tone), click Effect → Noise Reduction → Get Noise Profile, then apply it to the full track. Be conservative - over-processing creates an unnatural "underwater" effect.
2
Remove Mistakes and Breaths
Cut flubbed takes using your clap markers. Remove excessive breath sounds (a few natural breaths are fine - removing all of them sounds robotic). Tighten long pauses to maintain pacing.
3
Apply EQ and Compression
A gentle high-pass filter (roll off below 80 Hz) removes low-frequency rumble. Light compression (4:1 ratio, slow attack) evens out your dynamic range. These are subtle tools - less is more for spoken word.
4
Normalize Loudness
Use Auphonic or your DAW's loudness normalization tool to hit the target LUFS. Run the ACX Check plugin (Audacity or Logic Pro) or a LUFS meter to verify you meet platform specs before exporting.
5
Export Chapter Files
Export each chapter as a separate MP3 file at 192 kbps CBR, 44.1 kHz, mono. Name files clearly (e.g., "Chapter_01_Title.mp3"). ACX also requires a 1-5 minute retail audio sample and a short opening file.
Cover Art and Metadata: Don't Overlook the Details
Your audiobook cover art is often the first thing a potential listener sees. Both ACX and Findaway require a square image, minimum 2400 × 2400 pixels (3000 × 3000 recommended), in JPEG or PNG format at 72 DPI minimum. The cover must include the title, author name, and (if applicable) narrator name. Avoid white backgrounds and ensure text is legible at thumbnail size.
Metadata matters too. Prepare the following before submission:
- Full title and subtitle
- Author and narrator names
- Publisher name (your name or imprint is fine)
- ISBN (optional for ACX; Findaway provides one free)
- Book description (compelling, keyword-rich - this is your sales copy)
- Genre and category selections
- Language and publication date
Submitting to ACX: Step-by-Step
- Create an ACX account at acx.com and log in with your Amazon account credentials.
- Claim your title by searching for your book on the ACX dashboard. If it's already on Amazon, you can claim it; if not, you'll need to add it to Amazon KDP first.
- Select your narration option "I will narrate this book myself" for self-narration, or post an audition for professional narrators.
- Upload your audio files one file per chapter, plus the opening and retail sample files. ACX will run an automated quality check.
- Upload your cover art meeting the minimum specifications outlined above.
- Choose your royalty structure 40% exclusive (Audible/Amazon/iTunes only) or 25% non-exclusive (allows distribution elsewhere).
- Submit for review ACX typically reviews submissions within 30 days. You'll receive feedback if files don't pass QC.
Submitting to Findaway Voices: Step-by-Step
- Create a Findaway Voices account at findawayvoices.com. Note that Findaway is now part of Spotify for Authors.
- Start a new project and enter your book details - title, author, narrator, description, and categories.
- Upload your audio files in the correct format. Findaway's uploader will flag technical issues before final submission.
- Upload your cover art and verify all metadata fields are complete.
- Select your distribution channels you can choose all 40+ retailers or exclude specific ones (e.g., if you're exclusive with Audible via ACX).
- Set your retail price Findaway lets you control pricing on most platforms, unlike ACX which uses Audible's pricing model.
- Submit for quality review typically 5–10 business days. Findaway's QC team will contact you if revisions are needed.
A Final Word: You Can Do This
The path from manuscript to published audiobook is longer than many creators expect - and that's okay. Every professional narrator started in a closet with a borrowed microphone, listening back to their recordings with a mix of horror and determination. The technical requirements exist to protect your listeners and your reputation, not to gatekeep.
Give yourself permission to learn, iterate, and improve. Your first chapter might not pass QC on the first try - most don't. Record a test chapter, run it through ACX Check, make adjustments, and try again. Each session, your ear will sharpen, your voice will settle, and your technical confidence will grow.
The audiobook market is growing at over 20% annually, and listeners are hungry for new voices and stories. Your story deserves to be heard - literally. Start recording.
Ready to Start Your Audiobook Journey?
Visit ACX.com or FindawayVoices.com to create your account and claim your title today. Your listeners are waiting.
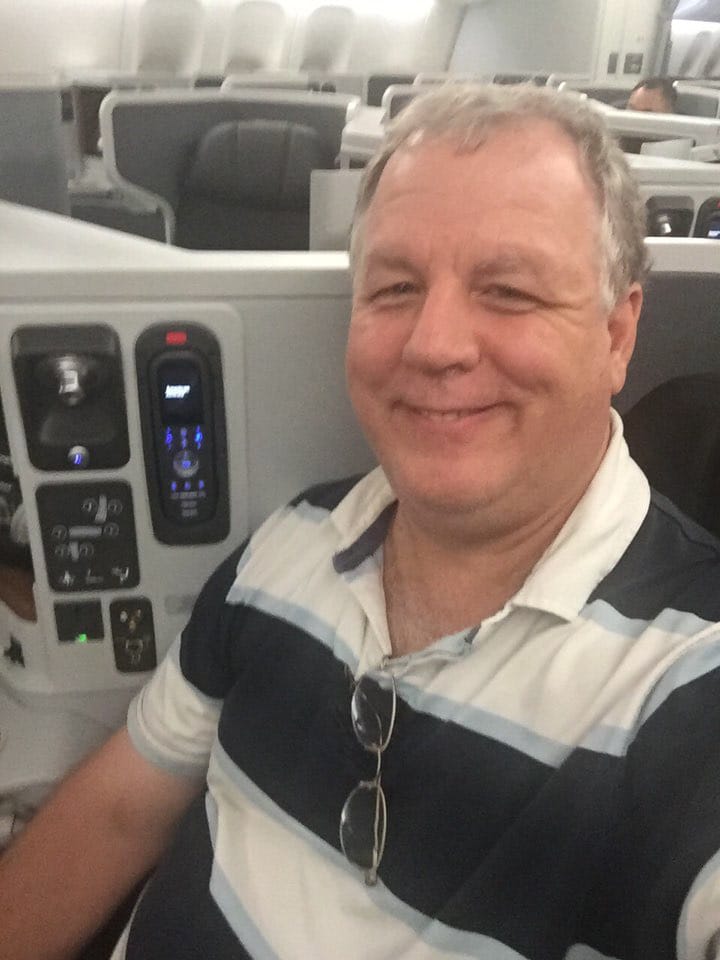
Hi, I'm Tim Hewitt
CEO of AuthorHub.io
I won my first writing scholarship in high school by beating more than 300 other writers in a nationwide contest, and that award gave me something money couldn't buy: the belief that my words mattered. Since then I've spent decades learning what makes writing work: how to find your voice, how to keep readers turning pages, marketing that really sells books, and how to spot the small craft problems that quietly sink good stories. This blog is where I share everything I've picked up along the way.